Difference between revisions of "How to visualize WRF-Fire output in Matlab"
Jump to navigation
Jump to search
| Line 25: | Line 25: | ||
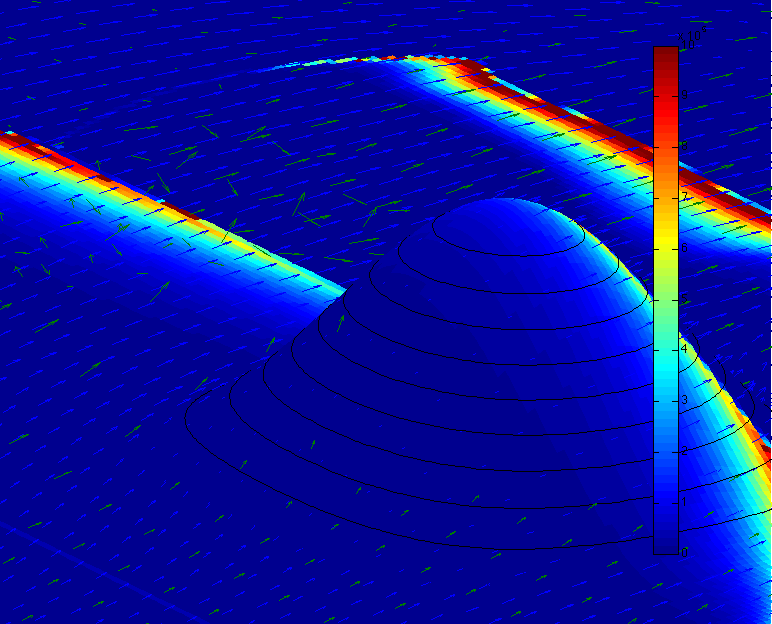
[[File:Hill2-jan.png|200px]] | [[File:Hill2-jan.png|200px]] | ||
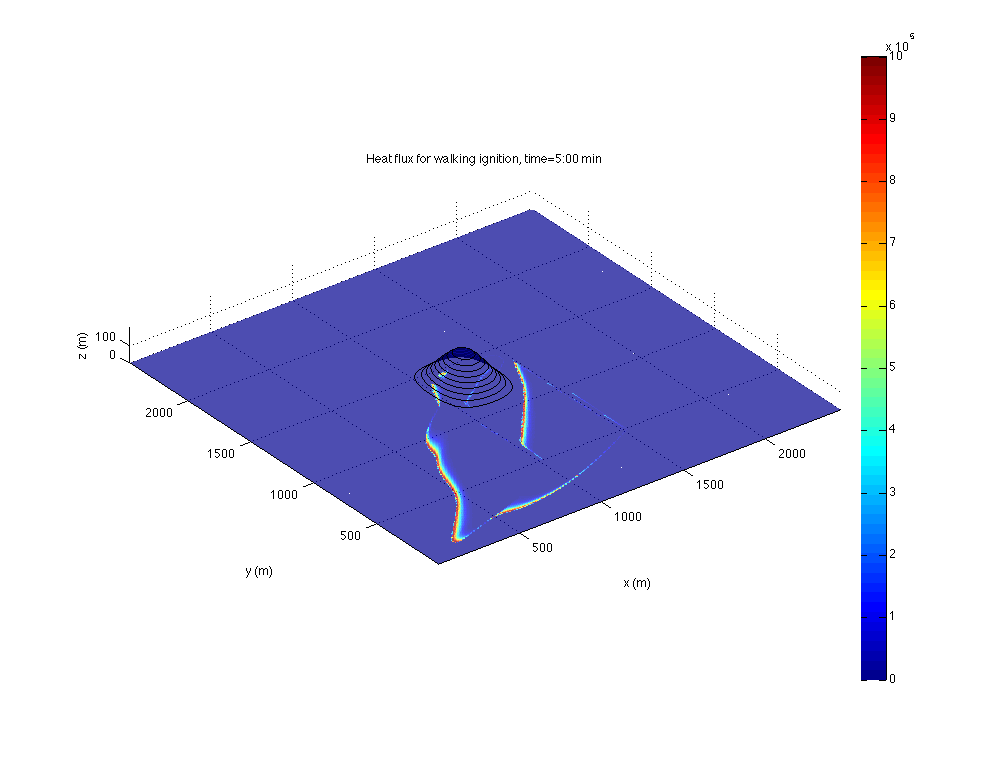
[[File:WRF-Fire-walking-ignition-matlab.png|200px]] | [[File:WRF-Fire-walking-ignition-matlab.png|200px]] | ||
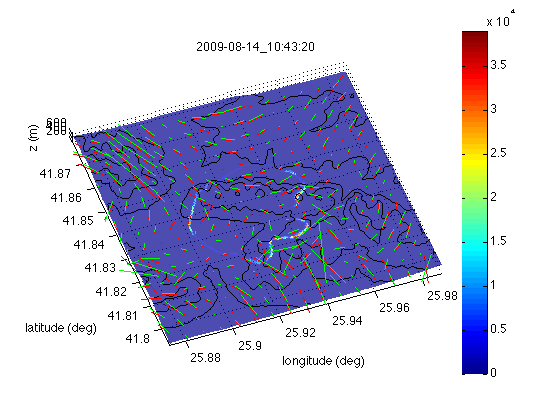
| + | [[File:Harmanli.png|200px]] | ||
==Works with== | ==Works with== | ||
Revision as of 20:42, 14 November 2010
Prerequistes
- A computer for visualization with recent Matlab and memory at least 3 times the size of the wrfout file.
- A working installation of WRF-Fire, possibly on another computer or a cluster.
Directions
- Change in namelist.input the line with history_interval to the desired frame interval in seconds, for example history_interval_s=1. Make sure frames_per_outfile is large enough so that only one wrfout file is produced.
- Run WRF-Fire.
- If the visualization computer is different from the computer where you run WRF-Fire,
- Download WRF-Fire on the visualization computer
- Transfer the wrfout file to the visualization computer
- Start Matlab on the visualization computer from the directory wrf-fire/WRFV3/test/em_fire. This is needed to set Matlab search path. Alternatively, cd in Matlab to this directory and run startup. You can then cd to the directory where you put the wrfout file if you want.
- Type in Matlab wrfout2frame3d
- Examine the variables loaded in the Matlab workspace for further education and entertainment.
The scripts are fairly straightforward and various options are controlled by editing the scripts in Matlab.
See also
Gallery
Works with
- WRF-Fire Aug 7 2010 and hopefully later
- Matlab 2008b and later
- Tested with Matlab 2010a on MacBook Pro 4GB OS X 10.6


